
We are proud to say that these posts are not sponsored. Our editorial team of Bobbie moms and writers personally select each featured product. If you buy something through our links, we may earn an affiliate commission, at no cost to you.
While you expected some of the more obvious struggles of bringing your newborn home—sleepless nights, diaper changes, and spit-up—the seemingly endless collection of dirty baby bottles was not even on your radar. Is soapy water enough? Do you really need to sterilize baby bottles? How do you even do that?!
Washing bottles and pumping parts kills some germs and eliminates the visible buildup from breast milk or baby formula, but bottles need more than just soap and warm water to ensure they’re safe for your baby.
Sterilizing baby bottles takes washing a step further to keep your baby safe and healthy.
- The difference between sterilization and sanitization
- Why bottle sterilization is important?
- How to sterilize baby bottles
- Method 1: Sterilize baby bottles with boiling water
- Method 2: Microwave baby bottles for sterilization
- Method 3: Cold-sterilization chemicals to sterilize baby bottles
- Method 4: Dishwasher for baby bottle sterilization
- Method 5: Electric sterilizer for baby bottles
- 8 Best Baby Bottle Sterilizers
- Handling sterilized baby bottles
The difference between sterilization and sanitization
A quick google search on cleaning baby bottles will leave you wondering what the difference between sanitizing and sterilizing is– aren’t they the same thing?!
While they’re close, the biggest difference is essential for keeping your newborn safe. Sanitizing reduces the germs to a level that’s considered safe while sterilizing removes virtually all of the germs.1 If you’re lucky, your dishwasher may sanitize and/or sterilize bottles and bottle parts. Once you’re sure your bottles and parts are dishwasher safe, check your manual to see the correct settings for level of cleanliness required.
How to sanitize baby bottles
The first step to sanitizing baby bottles (and other dishes) is to wash and rinse them to remove all visible residue. Then, to sanitize, either dip them for 30 seconds in water that’s at least 170 degrees Fahrenheit or soak them for one minute in a solution made with one tablespoon of bleach and one gallon of cold water.2
This process can sanitize all of your dishes to protect your family from foodborne illness. But, for your vulnerable newborn, sterilization may be a better choice.
Shop Bobbie Organic Infant Formula
Bobbie Organic Infant Formula is a USDA Organic, EU-style infant formula that meets all FDA requirements. It is a complete nutrition milk-based powder modeled after breast milk and is easy on tummies. It is non-GMO and doesn't have corn syrup, palm oil, or maltodextrin. Learn more about Bobbie.
Why bottle sterilization is important?
Keeping your baby’s bottles free of harmful germs and bacteria is one simple way to help them stay safe and healthy.
While they’re arguably the cutest feature (second to toes, of course), babies’ mouths have plenty of bacteria that gets transferred to the bottle during feedings. This bacteria can multiply quickly and cause babies to become ill.
While older kids and adults can often fight off simple bacteria, babies are more vulnerable to foodborne illness due to their developing immune systems, according to the United States Food and Drug Administration (FDA). 3
And unfortunately, a bottle that looks clean isn’t necessarily germ-free.
No matter how clean the baby bottles may look, harmful germs and bacteria could still be present. Washing bottles with soap and water does kill some germs, but sterilizing the bottles takes it a step further for the extra level of safety your baby needs.
How often should you sterilize baby bottles?
Bottles should always be sterilized before the first use, whether they were stored away or taken directly out of the package, according to the Centers for Disease Control (CDC).4
If your baby was born prematurely, has a weakened immune system, or is under three months old, bottles should be sterilized at least once daily.
As babies get older and their immune systems strengthen, daily sterilization may no longer be needed– washing well with hot soapy water and a bottle brush then rinsing in hot water can do the trick.
How to sterilize baby bottles
Sterilizing bottles can seem overwhelming at first, but there are several methods to choose from to make keeping your baby safe as easy as possible.
You may choose to sterilize the bottles using supplies you already have at home or purchase a convenient baby bottle sterilizer. Find what works best for your family to make this task feel more manageable.
Method 1: Sterilize baby bottles with boiling water
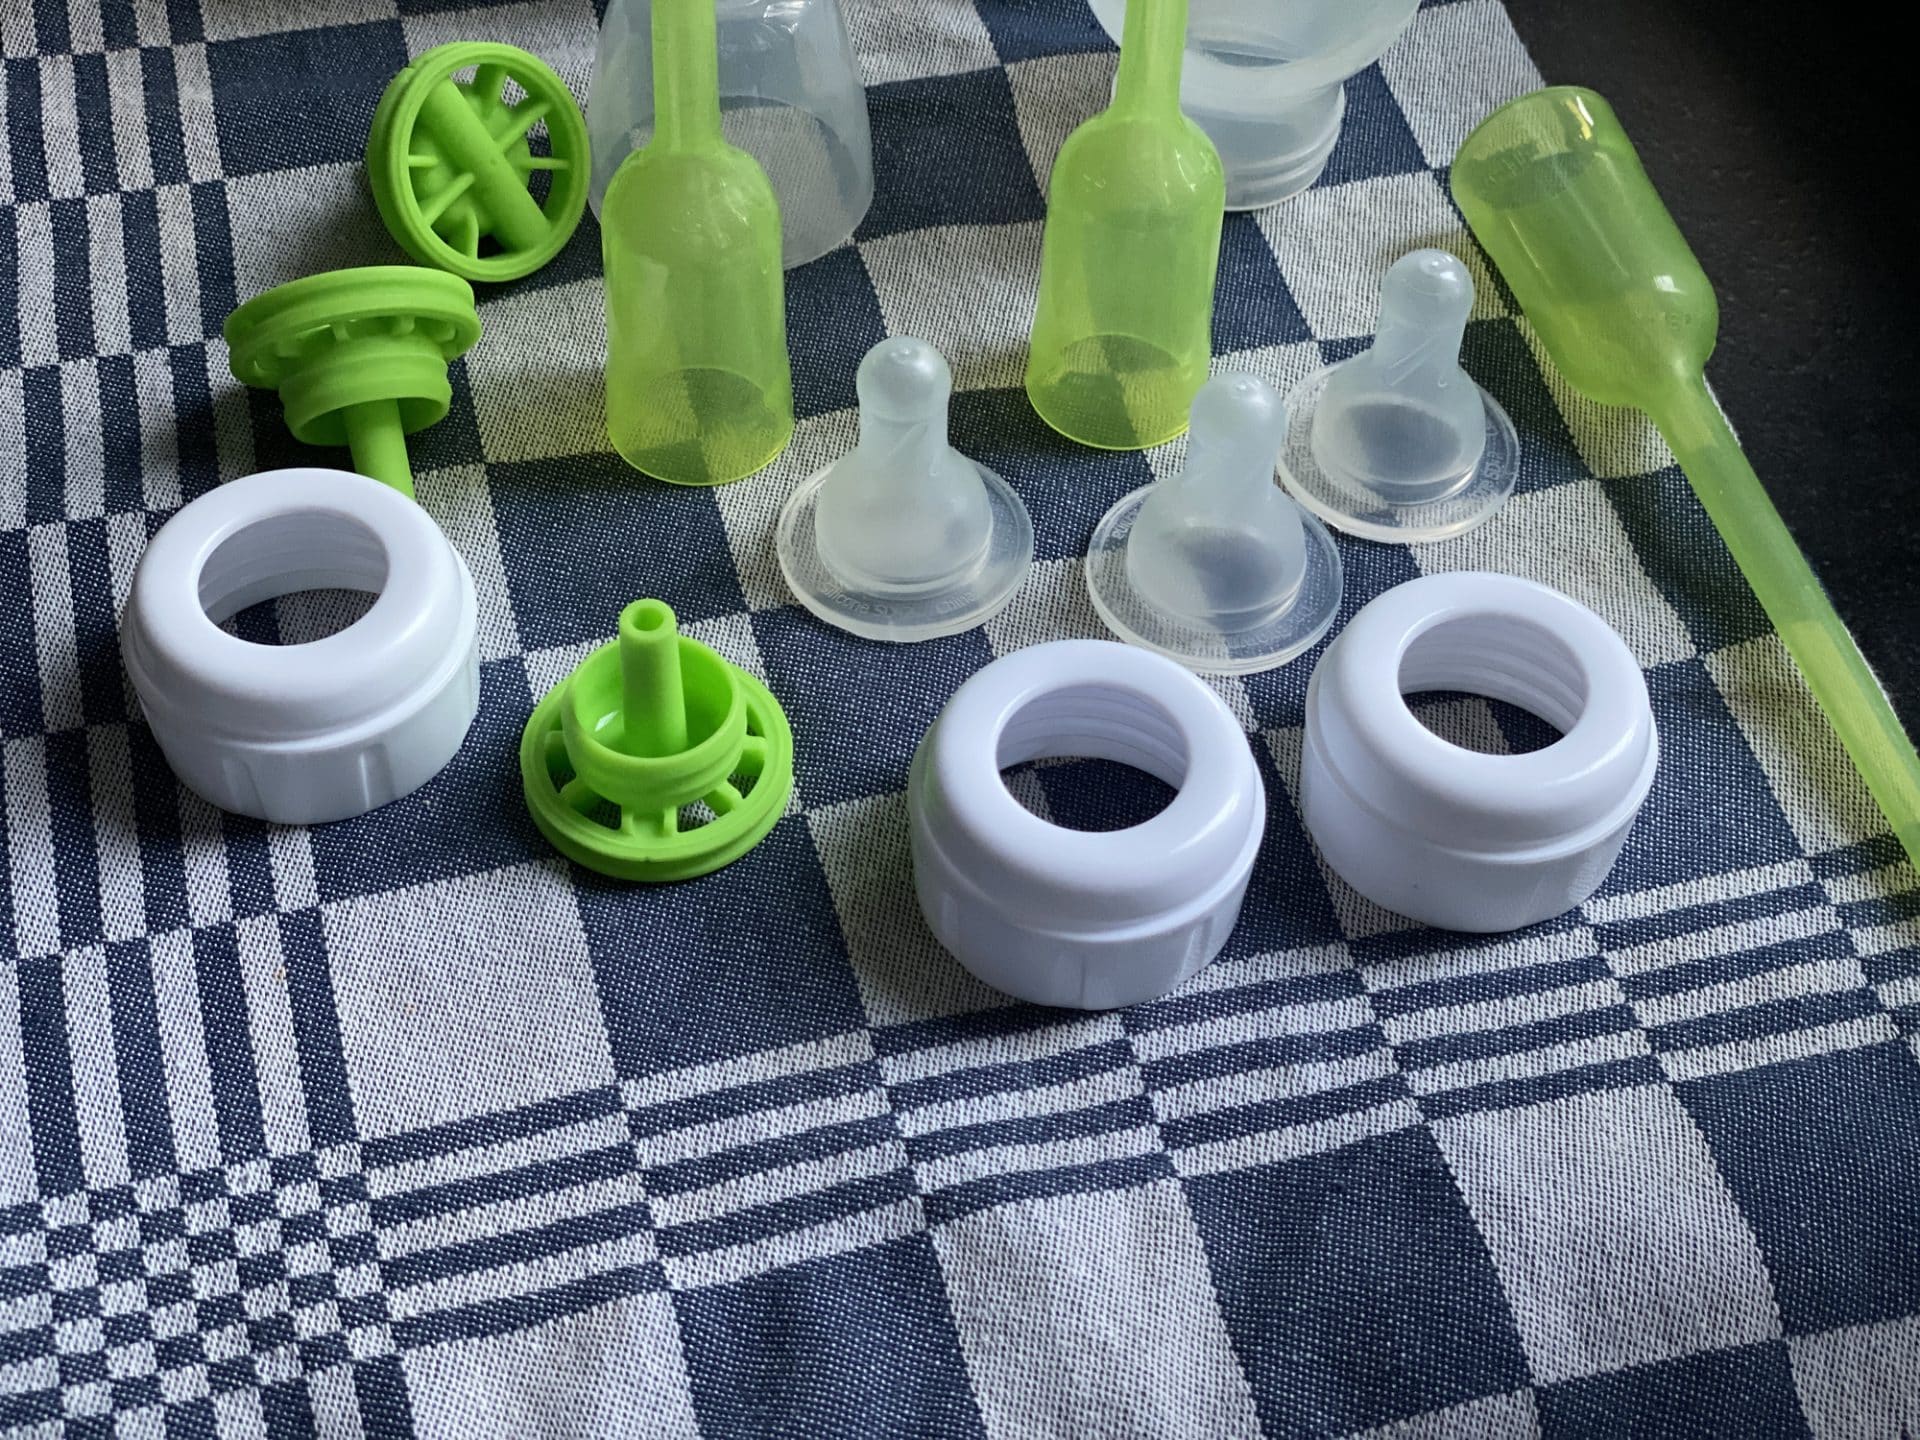
Boiling the bottles in water is one of the cheapest sterilization methods as all you need is water, a pot, and a stove. Simply disassemble the bottles and place them in a pot with enough water to cover everything.
Bring the water to a boil and let it boil rapidly for 5 minutes or as directed by the bottle manufacturer. Then, remove from the heat and allow the water to cool before using sterile tongs to remove the pieces.
Pros of sterilizing with boiling water
- Free
- No extra equipment to buy or store
- No chemicals used
Cons of sterilizing with boiling water
- Nipples tend to degrade quicker with this method, so it’s important to inspect them regularly and replace them as needed
- Potential burn risk from the boiling water and steam
Method 2: Microwave baby bottles for sterilization
A microwave steam sterilizer can be purchased for $15-$40, making it one of the cheaper options. Most of the sterilizers on the market can sterilize 4-6 bottles at once. Simply add water and microwave for the specified amount of time instructed on the packaging, generally around 2 minutes.
The power of the microwave will create steam which kills germs and bacteria. Microwave steam bags work the same way and are even cheaper but can often only hold a few bottles at a time.
It’s important to follow the manufacturer’s guidelines for specifics regarding the time and power settings. This ensures the bottles are properly sterilized without being damaged. The last thing you need is a melted baby bottle!
Once sterilized, the contents will remain sterile for up to 24 hours as long as the lid remains sealed—depending on which sterilizer you use.
Pros of sterilizing with the microwave
- One of the cheapest methods
- Quick—only around 2 minutes for sterilization
- No chemicals used
Cons of sterilizing with the microwave
- Additional purchase needed
- Takes up counter or cabinet space when not in use
Method 3: Cold-sterilization chemicals to sterilize baby bottles
Cold-sterilization tablets are an option for situations where electricity is unavailable or when you need something portable, like when you are traveling with a baby.
Simply fill a container with enough cold tap water to cover the bottles, add the sterilization tablet, and allow the bottles to sit in the solution for the specified amount of time.
Cold-sterilization typically takes around 15-30 minutes. The solution can be used for up to 24 hours, so you can sterilize several bottles (even more than once) with one tablet.
Pros of using cold-sterilization chemicals
- Perfect for when electricity is not available– like camping, traveling, or power outages.
- Lightweight and portable
- No risk of burning yourself from steam
- Solution lasts 24 hours
Cons of using cold-sterilization chemicals
- Chemicals are used, which may not be preferred by some
- Ongoing expense to purchase product
Method 4: Dishwasher for baby bottle sterilization
According to the CDC, you can use your dishwasher to sterilize bottles as long as it has a heated drying cycle or sanitizing setting.4 This helps to ensure that temperatures reach high enough heat to properly sterilize the bottles.
You’ll need to verify that your dishwasher has this setting and that your bottles and nipples are dishwasher safe.
Pros of using a dishwasher for sterilization
- Low cost
- No additional items needed
- Can be put in the dishwasher along with other dishes
Cons of using a dishwasher for sterilization
- Some dishwashers don’t have a heated drying cycle or sanitizing cycle
- Not all bottles and nipples are dishwasher safe
- Takes longer than other methods
Method 5: Electric sterilizer for baby bottles
Electric sterilizers use steam to kill germs and bacteria. Once you purchase an electric sterilizer and ready it on your counter, simply add the amount of water specified by the manufacturer and turn the sterilizer on.
Many of these units will automatically move to a drying step and will keep the bottles sterile for up to 24 hours once the process is complete.
Pros of using an electric bottle sterilizer
- The quickest and easiest option
- No chemicals
Cons of using an electric bottle sterilizer
- Takes up counter space
- One of the more expensive methods- $60-$200
8 Best Baby Bottle Sterilizers
Papablic Baby Bottle Electric Steam Sterilizer and Dryer
Munchkin Jumbo Microwave Bottle Sterilizer Bag
Philips Avent Premium Sterilizer with Dryer
Dr. Brown’s Electric Sterilizer with LED
Medela Quick Clean Micro-Steam Bags
Wabi Touch Control Dual Function UV Sterilizer & Dryer
Tommee Tippee Advanced Steri-Dry Electric Sterilizer and Dryer for Baby Bottles
Munchkin Portable UV Sterilizer
Handling sterilized baby bottles
Regardless of which option works best for your family, washing your hands with hot soapy water before touching any of the bottle parts or formula is essential.
Then, take time to clean anything the bottles will come in contact with to keep them sterile before your baby’s next feeding.
After sterilizing the bottles, you’ll want to let them air dry completely. Bacteria thrive in moist environments and could begin to grow in the sterilized bottles if they’re put away while they still have moisture in them.
Verified by: Kelsey Lorencz, RDN
Shop Bobbie Organic Infant Formula
Bobbie Organic Infant Formula is a USDA Organic, EU-style infant formula that meets all FDA requirements. It is a complete nutrition milk-based powder modeled after breast milk and is easy on tummies. It is non-GMO and doesn't have corn syrup, palm oil, or maltodextrin. Learn more about Bobbie.
Resources:
- Understanding the Difference Between Cleaning, Sanitizing & Sterilizing | Canadian Institute of Food Safety
- Keep Your Home and Food Safe: How to Clean, Sanitize, & Disinfect | Stop Foodborne Illness
- Food Safety Booklet for Pregnant Women | FDA
- How to Clean, Sanitize, and Store Infant Feeding Items | CDC